
Golfstead is reader-supported. When you buy through links on the site, we may earn an affiliate commission at no extra cost to you. Our affiliations include, but are not limited to, the eBay Partner Network and Amazon Associates.
One of the most common (and important) shots any golfer will face out on the golf course is the chip shot.
A chip shot is a shot executed off the green, typically round 5-100 feet from the hole and normally with a high-lofted iron or wedge. The backswing of a chip shot usually doesn’t go past hip level, and most chip shots have a very low and short trajectory with rollout.
Amateurs, particularly beginners, will constantly find themselves in situations calling for a chip shot over the course of a round. Thus, it’s critical to develop a solid and reliable technique for them if you want to have any chance of shooting a respectable score.
How can you improve your chipping game? It’s not something that will happen overnight, but in this article, I’ll give you some of the most valuable drills I know of to help improve your technique and feel for chipping. In addition, I’ll provide some of my best tips that should stand the greatest chance of turning your short game around.
Drills To Get You On Track
1. The One-Hand Follow-Through Drill
This drill is best for golfers who tend to make a “flicking” or “handsy” motion in their chipping stroke that causes thin shots.
The Procedure
Assume your normal chip shot setup position and make your backswing.
Coming into the ball in the downswing, gently let your right hand (for a right-handed golfer) come off the club and let your left side carry the club into the follow through. Rinse and repeat.
The Goal
This drill will help you to stop flicking/releasing the club before impact. It will help you develop the feel for proper chipping: keeping your wrists hinged slightly through impact.
Since the right hand is responsible for releasing the club and you’re taking it off the club before impact, it helps prevent you from releasing prematurely which is what causes skulls and thins.
The drill can be repeated until you feel comfortable with the motion.
See PGA Advanced Professional Mark Wood demonstrate this drill in the video below:
2. The Staggering Drill
This drill is for golfers who want to improve their distance control on their chips.
The Procedure
By the green or in an open grassed area, start by chipping a golf ball to a position a few yards in front of you.
Then try to chip a second ball about a foot or so past the first ball. Then try to chip a third ball about a foot or so past the second.
Continue with more balls, each time trying to chip the ball about a foot or so past the ball that is farthest from you. If you happen to hit a ball shorter than the ball farthest from you, bring all the balls back and start the process again.
Try to get through your entire pile of balls without bringing any back.
The Goal
This drill will help you focus on and hone your chipping distance control, more so than hitting to random targets would.
As you perform this drill, you will find that you will start to develop a good and consistent technique naturally, and you’ll be able to apply it on the golf course.
This drill is discussed by PGA golf coach Mark Crossfield in the video below. Check it out:
3. Chipping Drill Using Alignment Aid
This drill is for golfers who are having trouble getting a consistent trajectory on their chip shots.
The Procedure
You’ll need an alignment aid for this drill, which can be bought here or at a local hardware store such as Home Depot.
Either line the alignment stick up with the shaft of the golf club (held in place with your hands) or insert it into the hole on the top of the grip.
Then chip a golf ball using the “hinge-and-hold” method: hinge your wrists going back and maintain that hinge going down and through the ball.
The hinge-and-hold method (advocated by Phil Mickelson) helps you strike the ball with a consistent effective loft and thus improve your chipping consistency overall.
The Goal
This drill will give you the feedback you need to know if you’re using the correct chipping technique.
The alignment aid stick provides feedback in the sense that if you’re using the correct technique, it shouldn’t hit you at any point during the swing. If you’re releasing the club through the ball, you will find that the alignment aid touches your torso in the follow-through.
The drill can be performed anywhere, whether it’s off the green or in a grassy area with a reference point.
Gabriel Writer of PGA Tour Driven walks you through this drill below:
Tips For A Better Chipping Game
1. Use the right wedge.
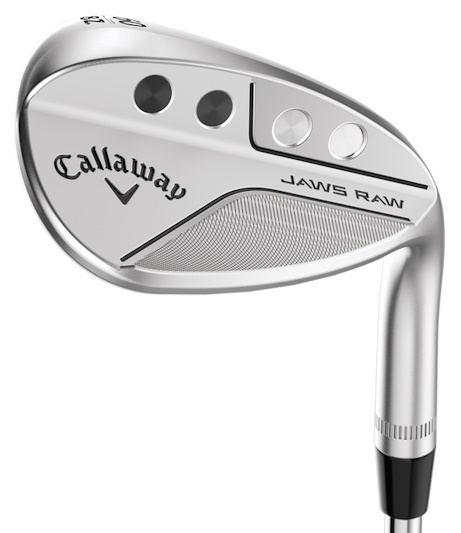
If you’re chipping around the green, you’re going to want to use a wedge in most cases, but there are a few things to take into consideration.
First, the best iron or wedge to use depends on the lie and the situation.
For example, when it comes to tight lies from the fairway in front of the green or from a low-cut fringe, many seasoned golfers will recommend using a pitching wedge. This is because:
- The loft of the pitching wedge is not too high, enabling rollout to the hole.
- The bounce is on the low side for a wedge which helps prevent the club from “skipping” off the turf resulting in a thin or bladed shot.
On the other hand, if you’re faced with a chip shot from a fluffy lie in the rough, it’s best to use a wedge with a higher bounce like a gap or sand wedge because the bounce will help the club slide through the grass instead of dig into the ground.
You can also use a longer, stronger-lofted iron for chip shots like a 6 or 7-iron. This is useful in situations where the ball is off the green on the collar or fringe and you just need to get the ball rolling towards the hole.
The best wedge to use will also depend on your swing and how shallow or steep you tend to come into the ball. So, keep the above guidelines in mind while finding what works best for you when chipping.
2. Keep your weight forward.

One of the most important requirements for being able to chip solidly is keeping your weight on your front foot during the chip.
This is because putting your weight forward promotes driving the leading edge of the club underneath the ball, which is what we want. If your weight isn’t forward, but is instead balanced between the two feet or even back, the leading edge is much more liable to come up before impact and result in a skulled shot.
This is especially important off tight lies and when the ball is sitting down in the rough. With fluffy lies, you don’t need to keep your weight forward as much because hitting it thin is much less likely.
You should also consider ball position. As a general rule, if you want the trajectory to be lower and hotter, the ball should be somewhere around your back foot, and if you want the trajectory to be higher and softer, the ball should be near your front foot.
3. Keep your hands ahead of the clubhead at impact.
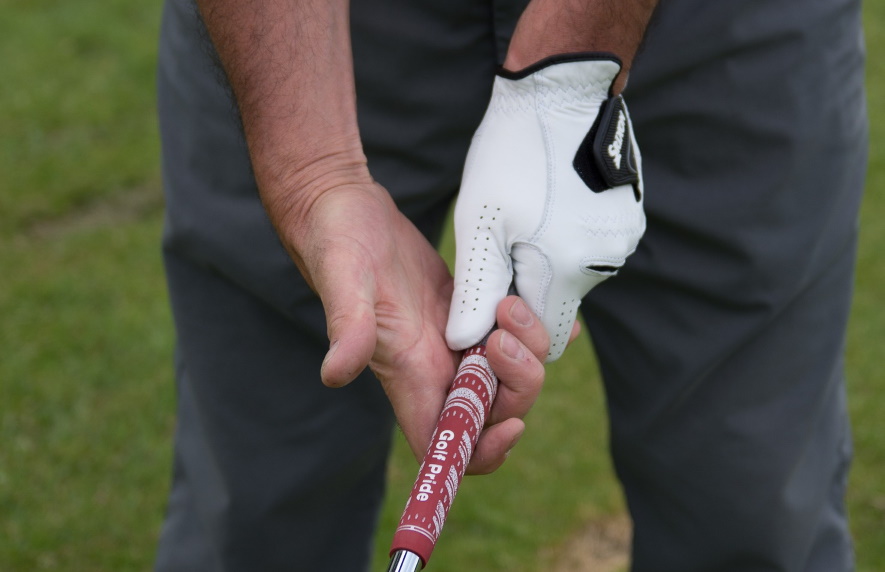
Make sure that your hands, along with the grip, are always ahead of the clubhead at impact.
If this isn’t the case, it means that you’ve released the club too much before impact, and it will most likely prevent you from ever making consistently good contact or seeing a consistent trajectory with your chips.
An easy way to achieve this is to employ the hinge-and-hold method. This involves breaking or “cocking” your wrists as soon as you start to take the club back, and then holding that wrist hinge as you accelerate into the ball.
You can also ensure that your hands are ahead of the clubhead at all times, including at address, in the backswing, downswing, and follow-through. This prevents your wrists from “flipping” through impact; instead, you’ll come in with a steeper angle of attack and “trap” the ball.
Conclusion
With modern equipment, good touch and feel around the greens, and some chipping drills that will help keep your form in top shape, you will be set up to have an outstanding short game.
Try some of these drills, put the chipping tips into practice, be persistent, and hopefully you’ll be able to see some positive results! Be sure to combine this with lag putting and short putting drills to round out your short game.
Also remember that having quality equipment (clubs, training aids, etc.) will help lift up your entire game including your chipping and short game.
Have you tried any of the drills in this article? What have your results been? Let us know in the comment section below.


